Guide for proper splicing of fiber optic fibers
Splicing has become an integral part, especially in the field of electrical installations.
Find out directly from our product expert for fiber optic technology how to perfect the splicing process.
Request a free guide
Request a free guide
Guide for fiber optic splicing

Splicing has become an integral part, especially in the field of electrical installations.
Find out directly from our product expert for fiber optic technology how to perfect the splicing process.
Request a free guide
Request a free guide
How to perfect the splicing process - fusion splicing in 10 steps
Especially in times of growing demands in fiber optic networks, the process of splicing fiber optic fibers has been increasingly applied and required. Splicing with fusion splicers, in particular, has become an attractive method to quickly and easily connect fiber optic fibers. Using the proper tool allows to connect the individual fibers of fiber optic cables extremely professionally. However, there are a few points to keep in mind during the splicing process.
Our product expert for fiber optic technology explains the splicing process in 10 steps, points out what to watch out for, and recommends appropriate tools.
Our product expert for fiber optic technology explains the splicing process in 10 steps, points out what to watch out for, and recommends appropriate tools.
Fusion splicing in 10 steps
Especially in times of growing demands in fiber optic networks, the process of splicing fiber optic fibers has been increasingly applied and required. Splicing with fusion splicers, in particular, has become an attractive method to quickly and easily connect fiber optic fibers. Using the proper tool allows to connect the individual fibers of fiber optic cables extremely professionally. However, there are a few points to keep in mind during the splicing process.
Our product expert for fiber optic technology explains the splicing process in 10 steps, points out what to watch out for, and recommends appropriate tools.
Our product expert for fiber optic technology explains the splicing process in 10 steps, points out what to watch out for, and recommends appropriate tools.
In-depth guide directly from the EFB product expert for fiber optic cabling systems
Easy and comprehensible instructions for the proper splicing of fiber optic cables
Request your free Whitepaper copy
In-depth guide directly from the EFB product expert for fiber optic cabling systems
Easy and comprehensible instructions for the proper splicing of fiber optic cables
Request your free Whitepaper copy
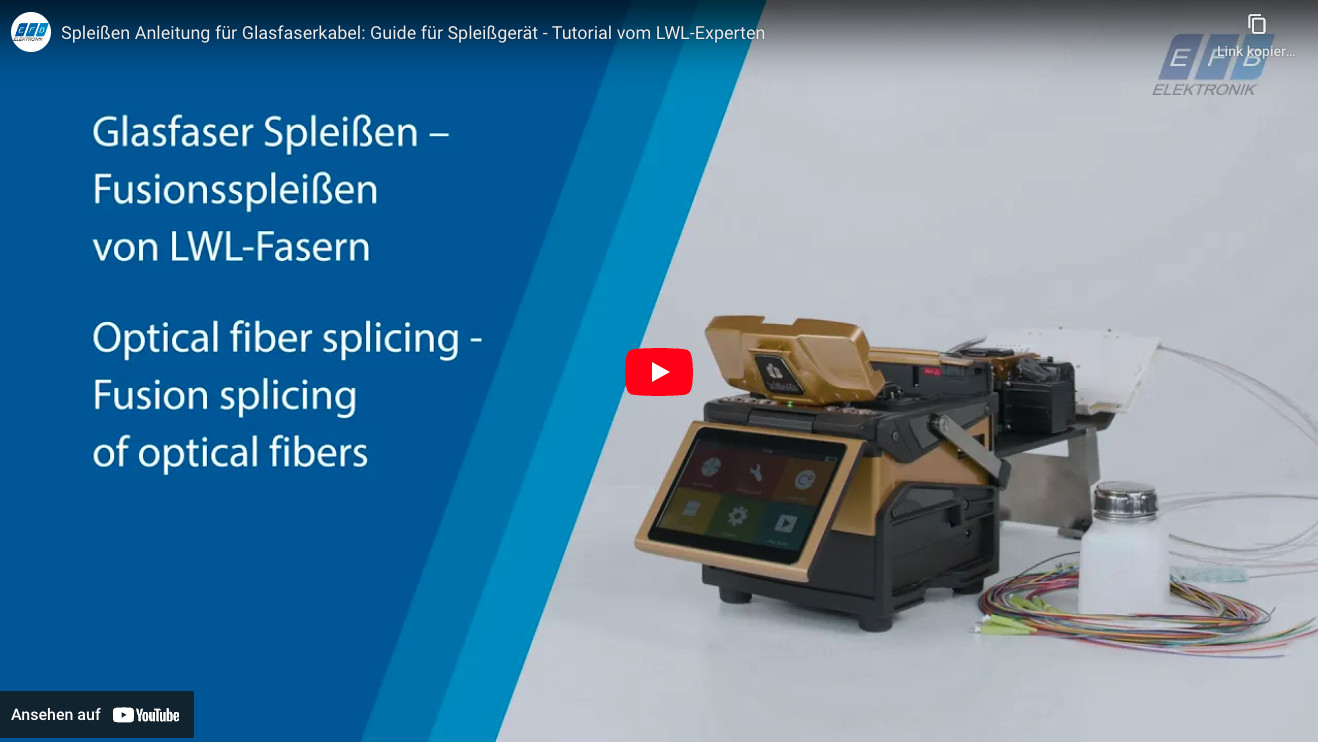
Splicing guide video
What you will learn from this guide
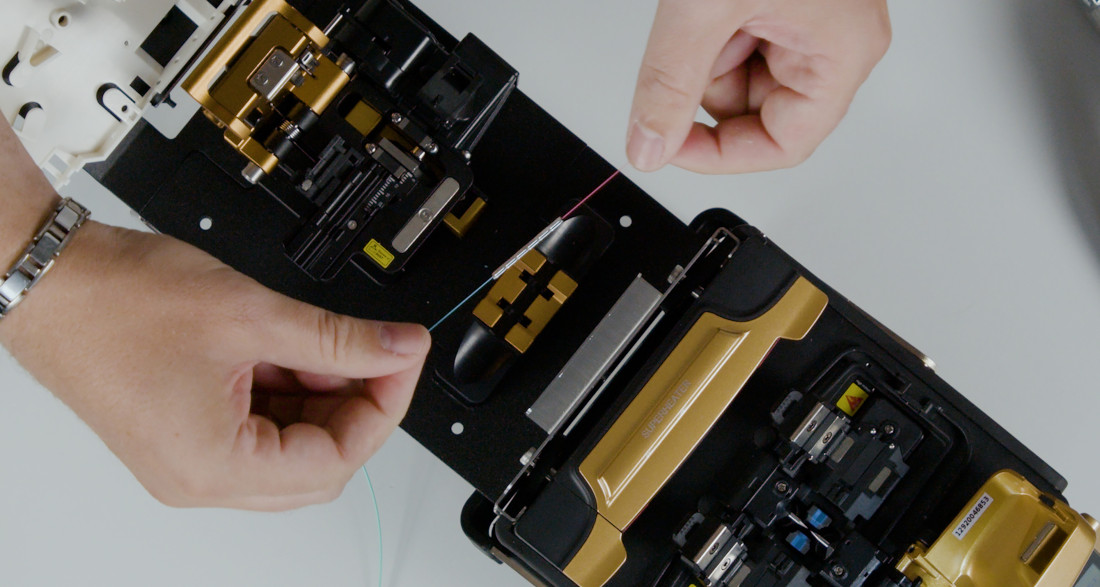
The splicing guide in pdf format provides comprehensive instructions regarding the splicing process:
✓ Proper preparation of the splicing process
✓ Error prevention: Cleaning of fibers
✓ Splicing process explained in form of simple instructions
✓ Proper post-processing instructions: Proper handling of fiber optic fibers
✓ And not to forget: Clearly laid out list of equipment and material
✓ Proper preparation of the splicing process
✓ Error prevention: Cleaning of fibers
✓ Splicing process explained in form of simple instructions
✓ Proper post-processing instructions: Proper handling of fiber optic fibers
✓ And not to forget: Clearly laid out list of equipment and material
Splicing tutorial at a glance
Step 1: Cleaning the splicer and fiber holder
Thoroughly clean the splicer and fiber holder.
Step 2: Selecting the fiber holder
Select the fiber holder set up for the upcoming fiber type of the fiber optic cable. The most common fiber holders include 250-µ- and 900-µ fibers.
Step 3: Stripping and cleaning the test fiber
Open the loose tube of the installation cable using a loose tube tool. Then strip off the coating using stripping pliers. Finally, carefully clean the fiber.
Step 4: Calibration
Devices calibrate automatically, all you have to do is select the appropriate splice program.
Step 5: Stripping and cleaning the fiber to be spliced
For the splicing process, now strip the fiber to be spliced using the proper tool. Then clean it thoroughly.
Step 6: Cleaving process
The fiber is scored using a cleaver and broken at a 90° angle. Thoroughly clean the cleaver before use.
Step 7: Starting the splicing process
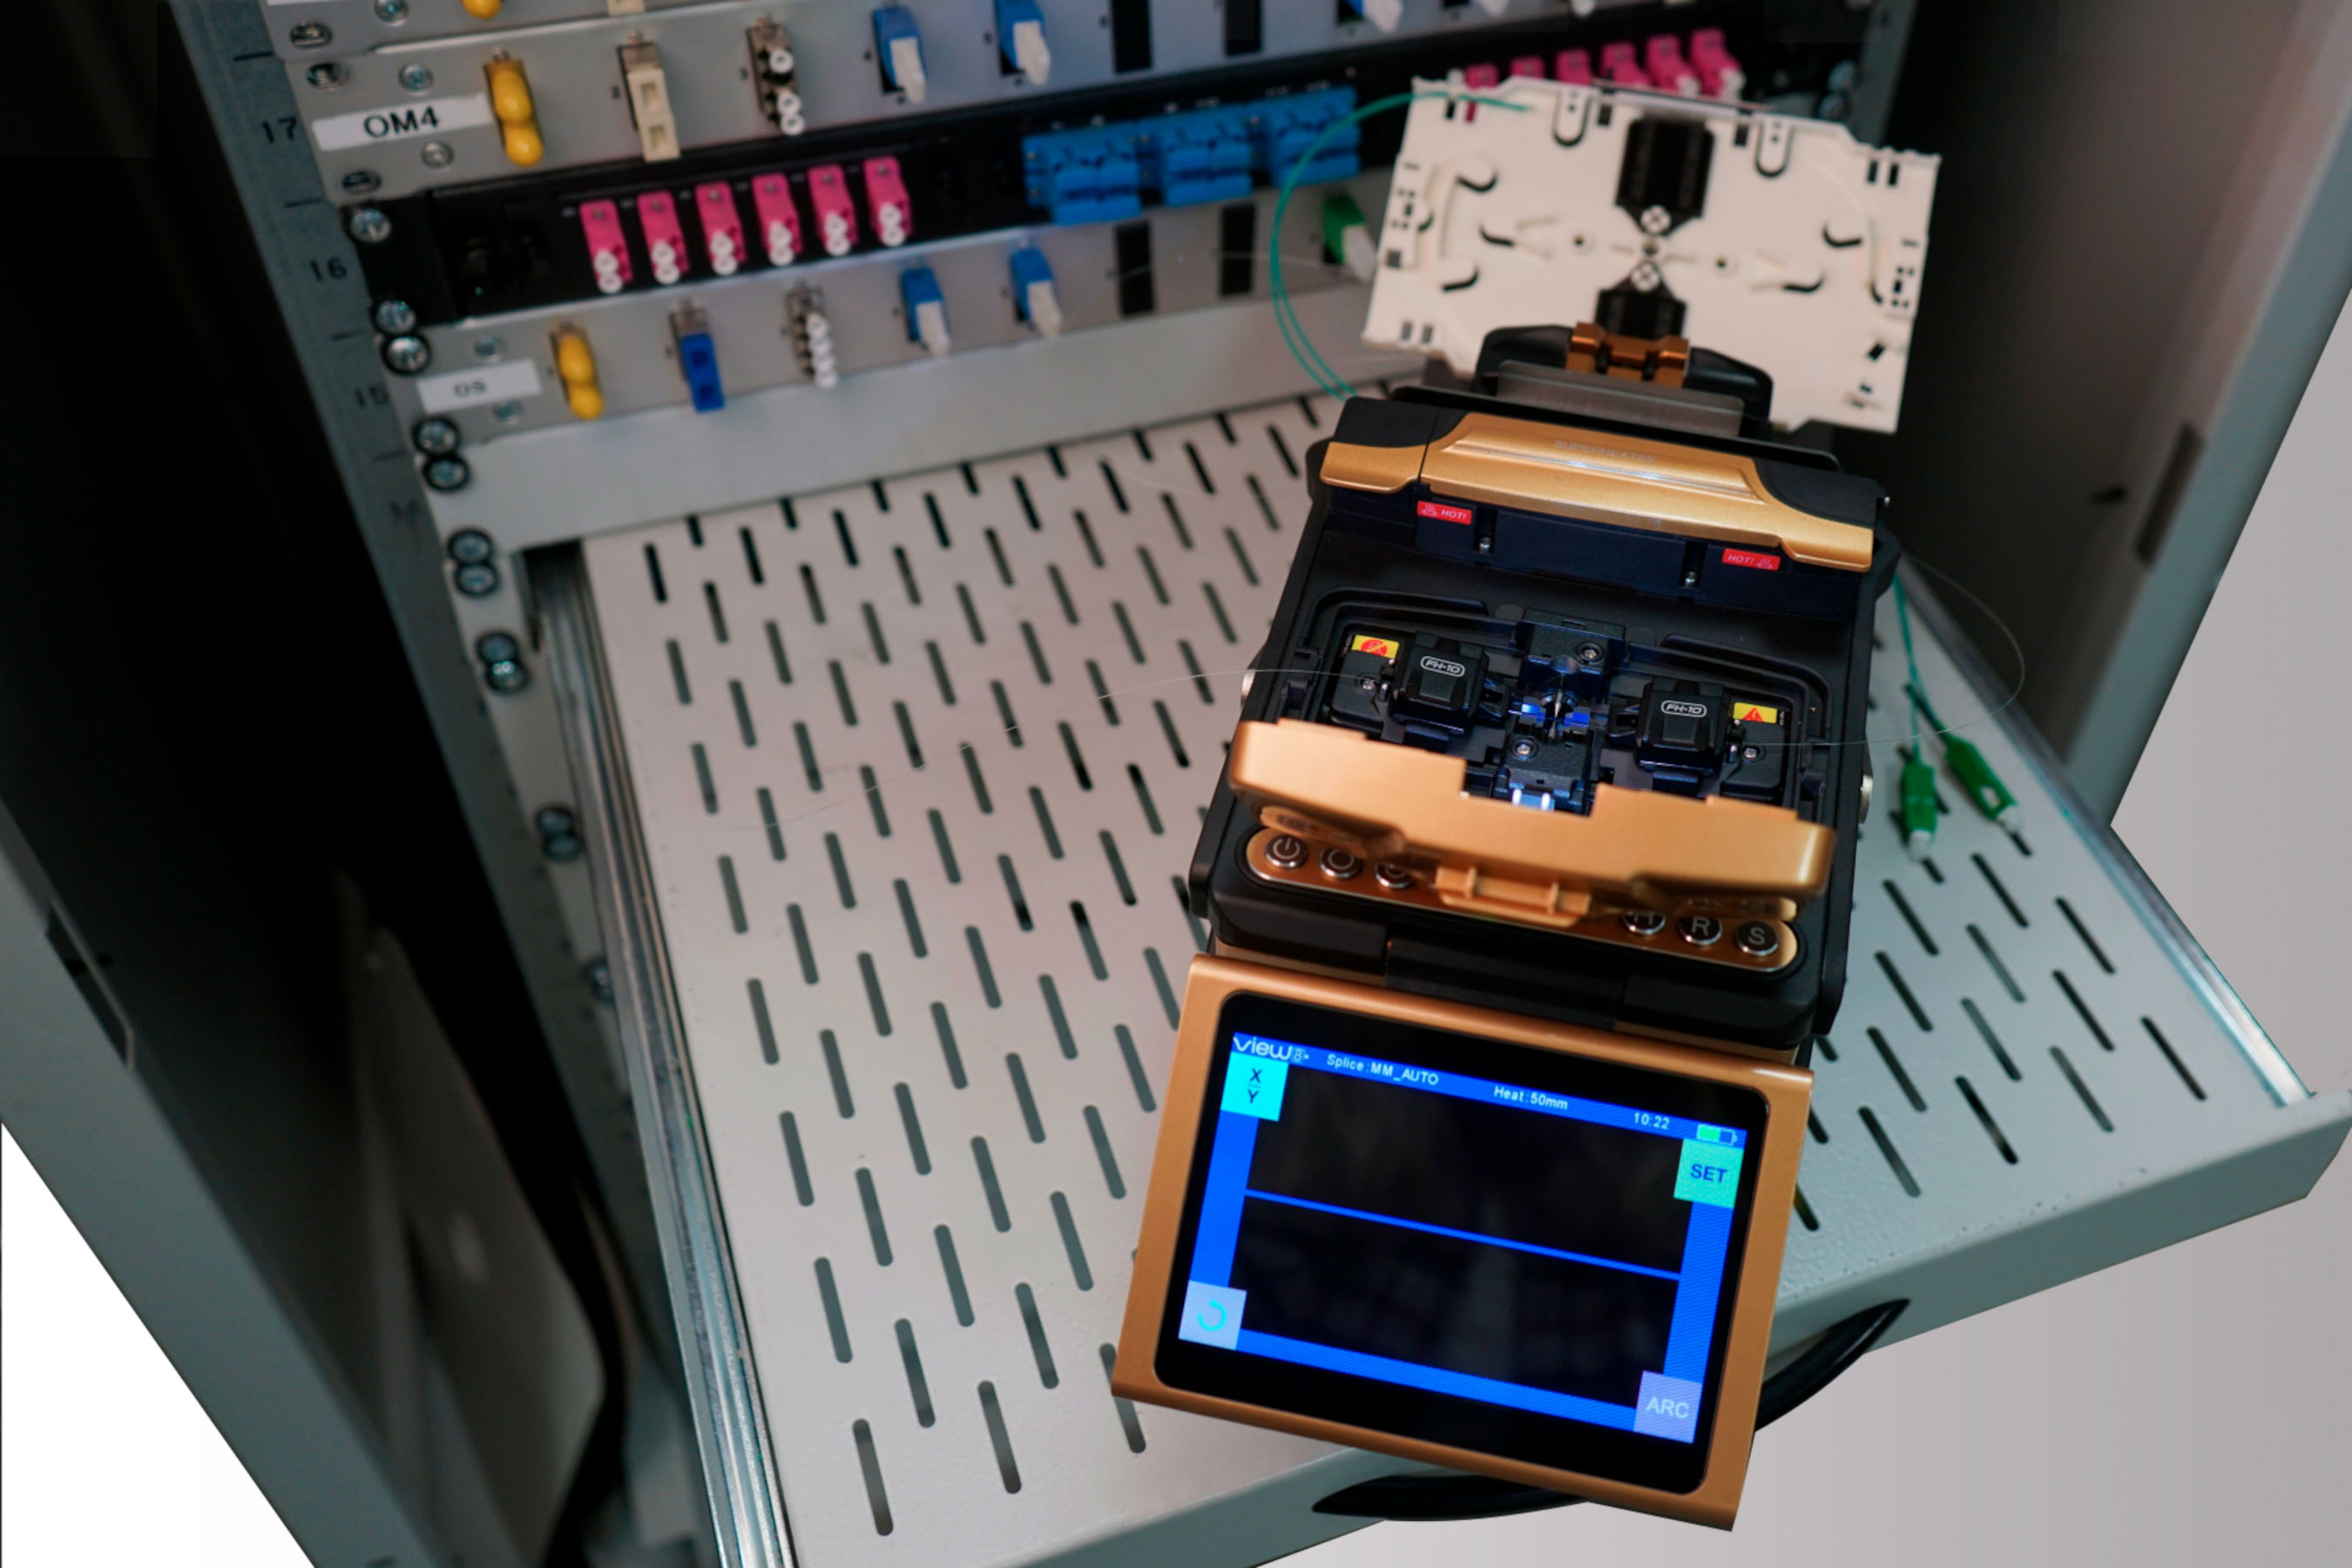
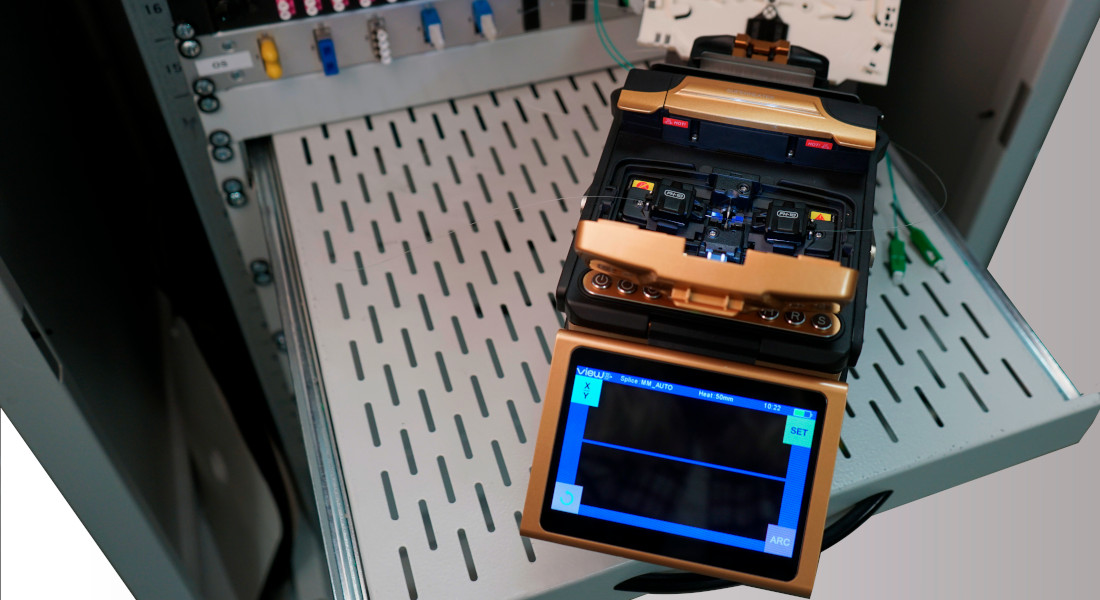
From the centre, insert the glass fiber into the splicer. Now use the mechanical precision adjustment device to join the two fiber ends with pinpoint accuracy. Then select the proper fiber type in the menu and start the splicing process at the touch of the button. Within just a few seconds, the integrated electrodes generate an arc that thermally welds the light-conducting cores of the glass fibers together.
Step 8: Was the process carried out successfully?
Test the quality of the splice connection by means of an insertion loss meter (peak programme meter) or an OTDR meter.
Step 9: Applying the splice protection
Apply the crimp splice protection to protect the fiber. In doing so, a crimping press must be used. Insert the spliced fiber optic cable, keep it straight and tensioned and apply the press.
Step 10: Inserting the spliced fibers into the splice cassette
Use a splice cassette to accommodate the excess fiber length. For proper positioning, distances with large bending radii are specified inside the cassette. At last, place the splice protection into the splice protection bracket.
Did you know? How to splice
During the splicing process, two fiber optic cables are seamlessly joined by thermal fusion. This usually takes place in a fully automated process carried out by a splicer: The pigtails and installation cables are connected with one another at their ends.
Advantage: It is a particularly quick and efficient method that allows to achieve excellent attenuation and reflectivity values. As a result, the quality of the transmission path is implemented in the best way possible.
Advantage: It is a particularly quick and efficient method that allows to achieve excellent attenuation and reflectivity values. As a result, the quality of the transmission path is implemented in the best way possible.
For the installation of highly efficient fiber optic networks, we can no longer do without the splicing process carried out by a state-of-the-art splicer. Thus, this method plays an essential role during the establishment of FTTx connections, i.e. broadband expansion.
The splicing process allows to restore a clean connection in case cables are accidentally cut.
The splicing process allows to restore a clean connection in case cables are accidentally cut.
Feel free to contact us if you need more information regarding the splicing technology
As an experienced partner, EFB-Elektronik is at your disposal for individual consultation with regard to the splicing of fiber optic cables. Furthermore, our product range includes state-of-the-art and highly efficient 3-axes fusion splicers, tools, and cleaning equipment, as well as an extensive range of accessories such as closures or crimp splice protection.
For installers and operators of fiber optic networks, we offer professional test equipment to meter and document fiber optic networks and to detect potential errors.
Benefit from the many years of experience of EFB-Elektronik as well as the product expert team. Get in touch with your contact partners to receive technical consultation.
Benefit from the many years of experience of EFB-Elektronik as well as the product expert team. Get in touch with your contact partners to receive technical consultation.
Enter your contact information and you will receive your free splicing guide in PDF format
This element uses content from third parties. By using it, you accept that their data will be transmitted to those and confirm that you have read the privacy statement.

